Mastering Pressure Stall Information in Kubernetes v1.36: A Production-Ready Guide
Overview
Pressure Stall Information (PSI) has been a game-changer for Linux system monitoring since its introduction in the kernel in 2018. Unlike traditional utilization metrics that simply measure how busy a resource is, PSI directly quantifies the real pain experienced by tasks: the percentage of time they are stalled waiting for CPU, memory, or I/O. With Kubernetes v1.36, PSI metrics have graduated to General Availability (GA), providing a stable, production-grade interface for observing resource contention at the node, pod, and container levels. This guide will walk you through everything you need to know—from understanding why PSI matters, to enabling it, interpreting its output, and avoiding common pitfalls.
Prerequisites
Before diving in, ensure your environment meets these requirements:
- Kubernetes v1.36 or later – The KubeletPSI feature gate is enabled by default starting with this version.
- Linux kernel 4.20+ with PSI support compiled in (most modern distributions have
CONFIG_PSI=y). - Kernel boot parameter
psi=1– Ensure PSI tracking is active at the OS level (check viacat /proc/pressure/cpu). - kubectl access to your cluster with permissions to query node metrics.
- Basic familiarity with Kubernetes metrics endpoints and cgroup filesystems.
Step-by-Step Instructions
Step 1: Verify Kernel PSI Support
First, confirm that your nodes have PSI enabled at the kernel level. SSH into a node and run:
cat /proc/pressure/cpuIf you see output like:
some avg10=0.00 avg60=0.00 avg300=0.00 total=0PSI is active. The some line shows the percentage of time at least one task was stalled, while full (for CPU and I/O) indicates all tasks were stalled. If the file doesn't exist, enable PSI in your boot configuration (e.g., add psi=1 to the kernel command line in GRUB).
Step 2: Access Kubernetes PSI Metrics
With KubeletPSI GA, the kubelet automatically exposes PSI metrics on its /metrics endpoint. To retrieve them:
kubectl get --raw /api/v1/nodes/<node-name>/proxy/metrics | grep psiYou'll see metrics like:
# HELP node_psi_cpu_stalled_seconds_total Cumulative stalled time for CPU (some)
# TYPE node_psi_cpu_stalled_seconds_total counter
node_psi_cpu_stalled_seconds_total 1234.56
For pod- and container-level metrics, the kubelet aggregates PSI from the cgroup hierarchy. Use the cAdvisor path:
kubectl get --raw /api/v1/nodes/<node-name>/proxy/metrics/cadvisor | grep -E 'container_psi|pod_psi'Step 3: Interpret the Metrics
PSI offers two key data types:
- Cumulative totals – The absolute time (in seconds) that tasks have been stalled since boot. Useful for calculating rates over custom windows.
- Moving averages – 10-second, 60-second, and 300-second windows (e.g.,
avg10,avg60,avg300). These help distinguish transient spikes from sustained pressure.
Metrics are available for CPU, memory (io in the original design, but note memory PSI uses memory resource), and I/O. For example, node_psi_cpu_some_avg10 gives the 10-second average of CPU stall time.
Step 4: Verify Overhead Is Minimal
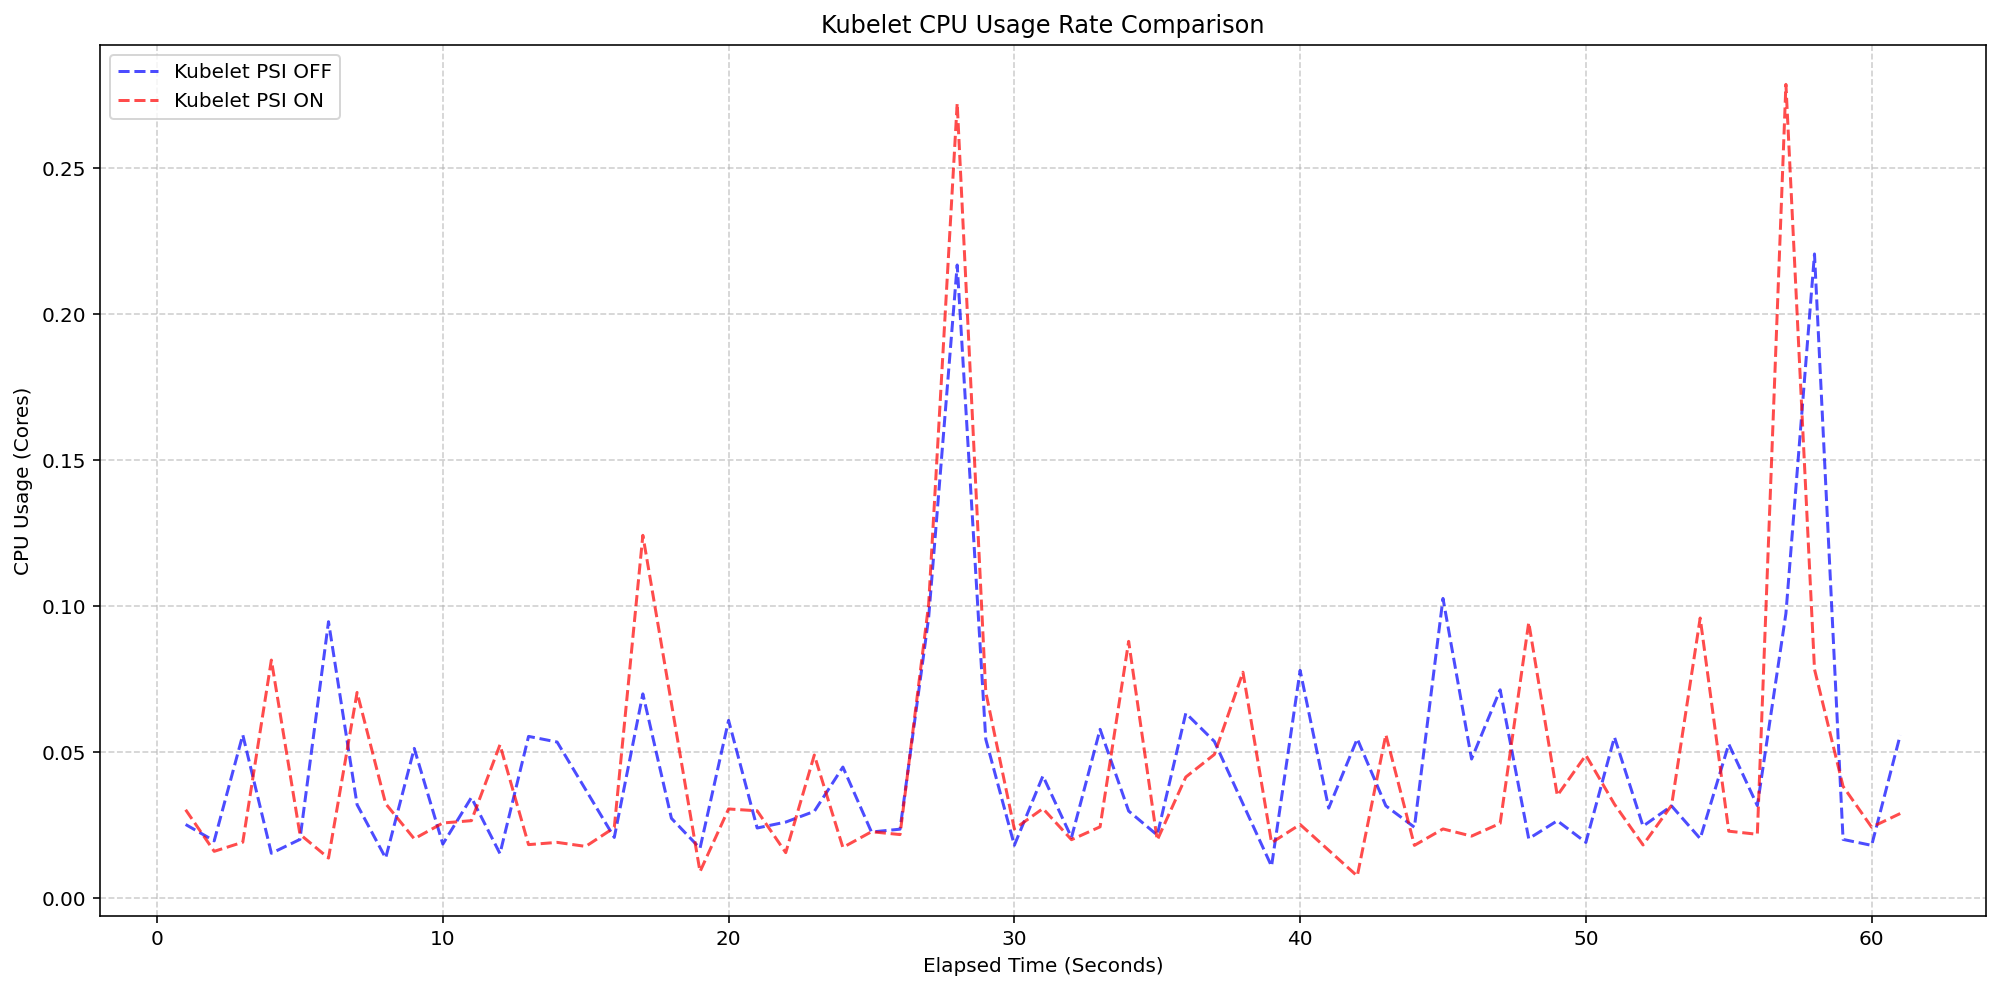
A common concern with telemetry features is resource consumption. Extensive testing by SIG Node (detailed in the original v1.36 announcement) confirmed that the kubelet's PSI collection adds negligible overhead. In tests on 4-core machines running 80+ pods, enabling the KubeletPSI feature gate increased kubelet CPU usage by less than 0.1 cores (2.5% of total node capacity). System CPU usage followed the same pattern as clusters without PSI collection, with only a slight baseline increase. To run your own benchmark:
- Deploy a high-density workload (e.g., 80+ pods) on two node pools – one with PSI enabled, one without.
- Monitor kubelet CPU using Prometheus or
top. - Compare the graphs: they should be virtually identical.
Common Mistakes
- Mistaking utilization for pressure – High CPU utilization does not always mean tasks are stalled. PSI reveals the real contention. Conversely, low utilization can hide pressure if tasks are waiting on I/O or memory.
- Expecting zero pressure in a healthy cluster – Some transient pressure is normal; look for sustained high averages (e.g., avg10 > 10%) that indicate a problem.
- Forgetting kernel configuration – PSI must be enabled at the OS level (
psi=1). Without it, Kubernetes metrics will be empty even with the feature gate on. - Ignoring cgroup v2 requirements – PSI works best with cgroups v2, which is the default in modern distributions. In cgroups v1, container-level metrics may be less granular.
- Over-relying on cumulative totals – Cumulative totals grow unbounded over time. Use rate calculations (e.g., Prometheus's
rate()) to get useful per-second stall percentages.
Summary
PSI metrics in Kubernetes v1.36 give operators a far more accurate picture of resource contention than traditional utilization metrics. By tracking actual stall time at the node, pod, and container levels, you can detect resource saturation early and avoid outages. The feature is lightweight, thoroughly tested, and ready for production. Enable it today by ensuring your kernel supports PSI and upgrading to v1.36. Use the guides above to verify, interpret, and monitor—your cluster's performance will thank you.